I have been coding this simple Jekyll blog on my iPad as well as my MBP and I wanted to share my flow. This is not going to be a detailed post explaining every steps in details, but an overall flow. I can get in more details in a separate post maybe.
I build this website in a very simple, lightweight way by using Jekyll and hosting on Github Pages for free.
This system allows me to run this blog without managing any database. I enjoy the simplicity and security of this system. This also makes it easy to manage from my iPad, all I need is a Git client and my choice is Working Copy App.
Step 1
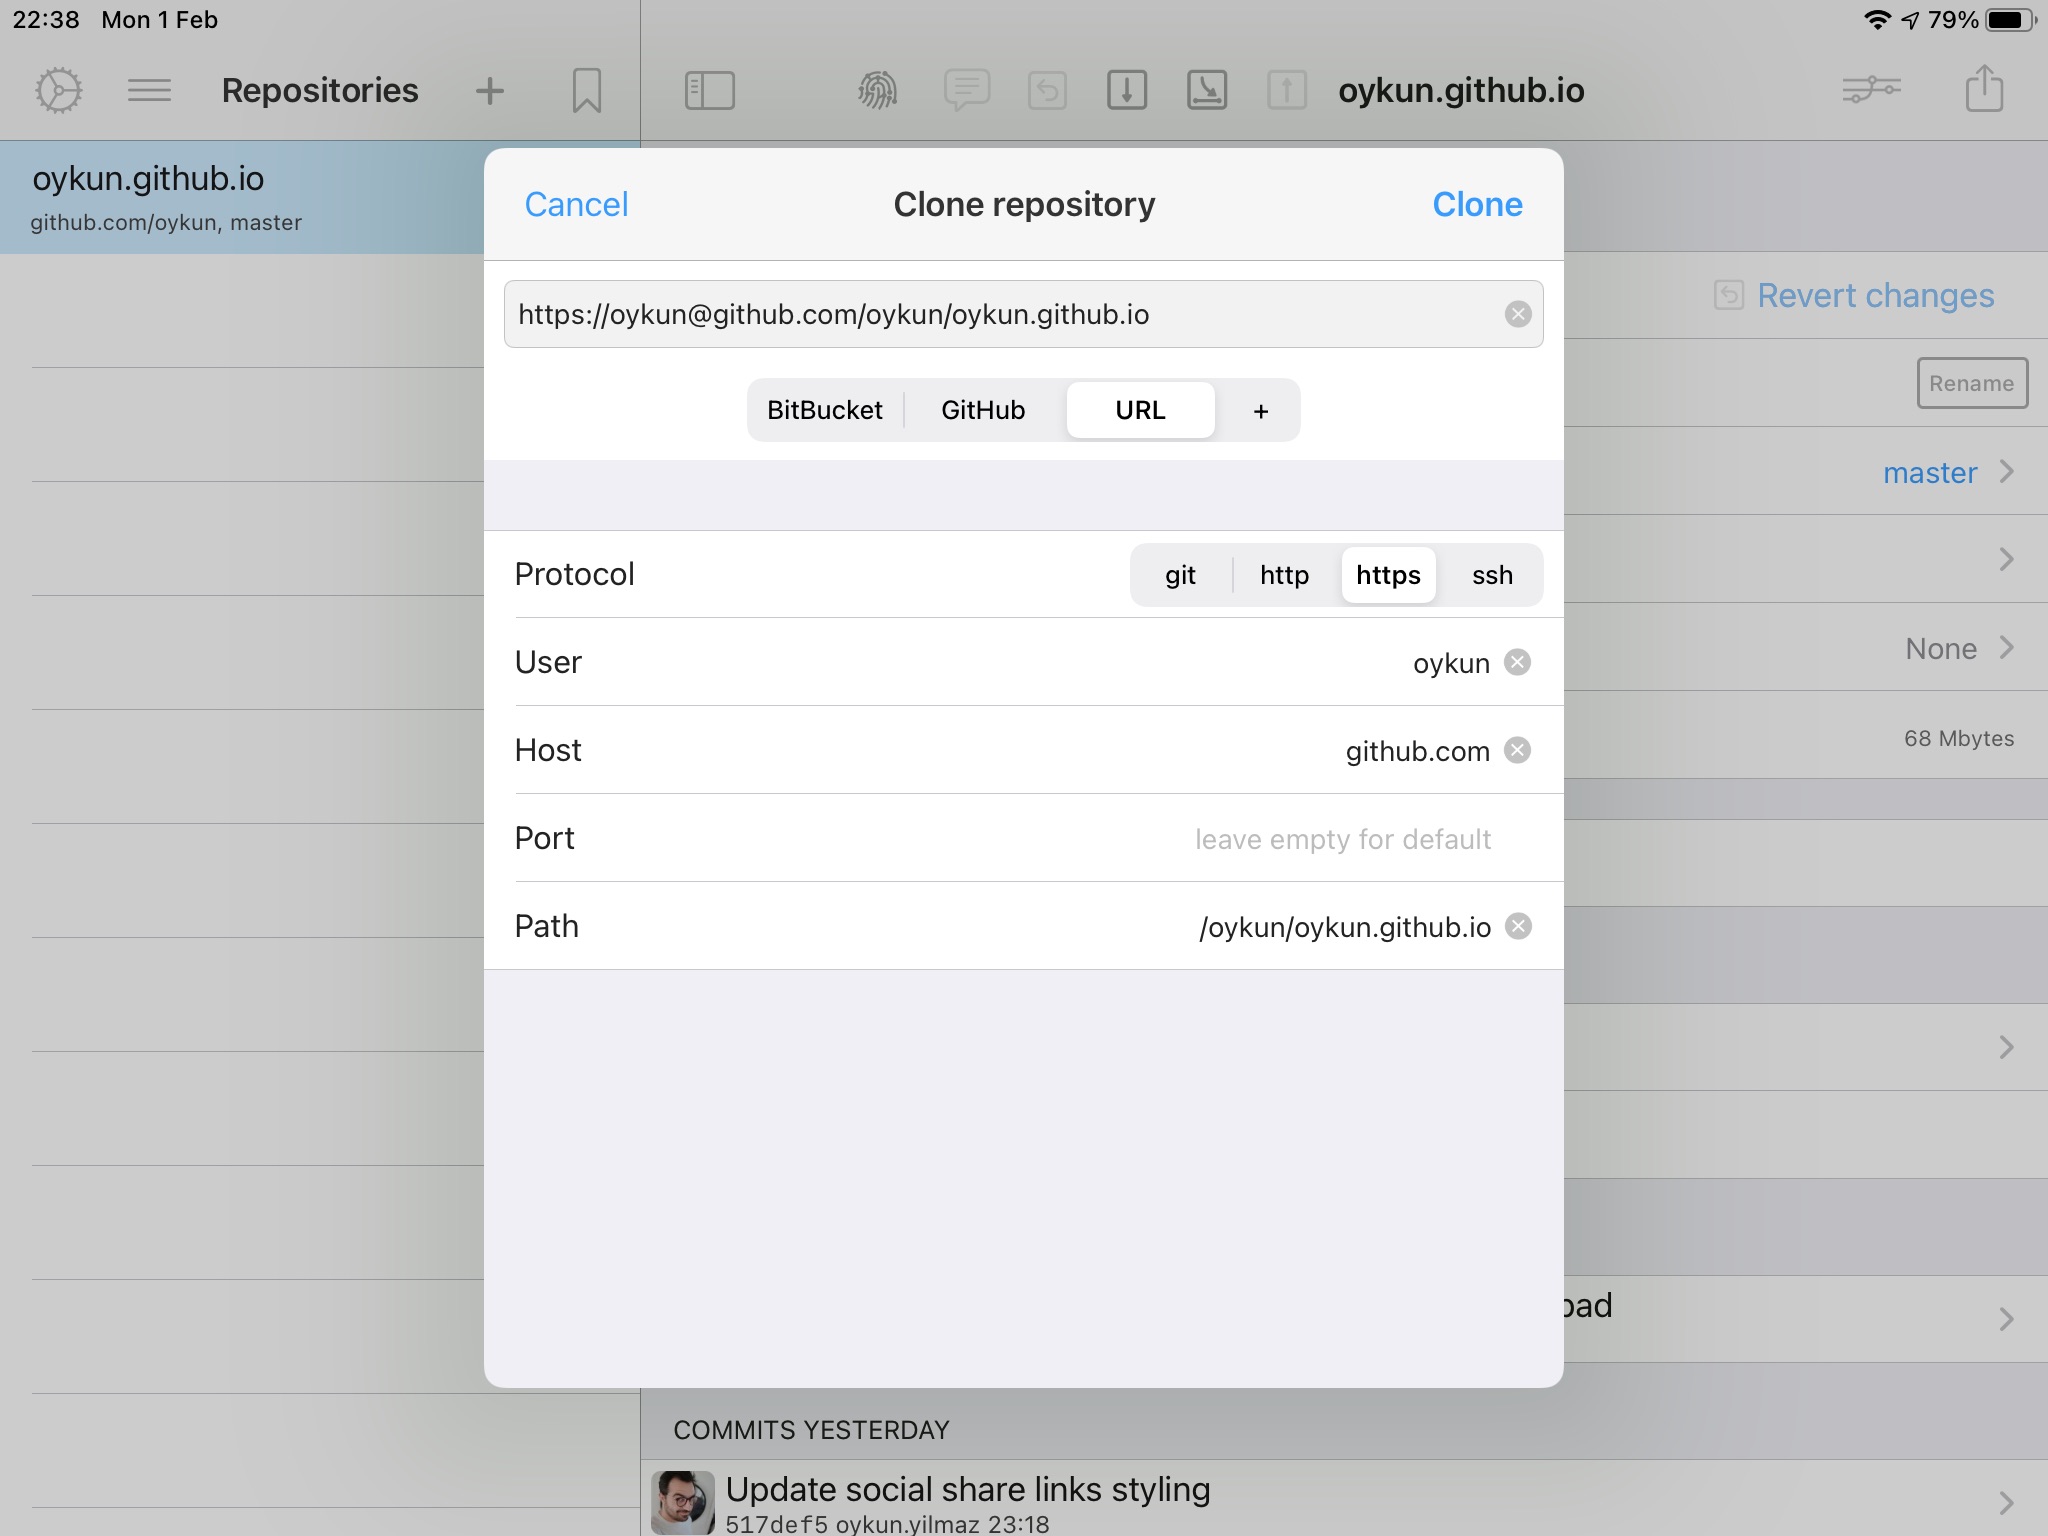
After I installed the app on my iPad, I entered my Github details and it listed all my repos. Then, all I needed to do was selecting the repo and Clone.

Step 2
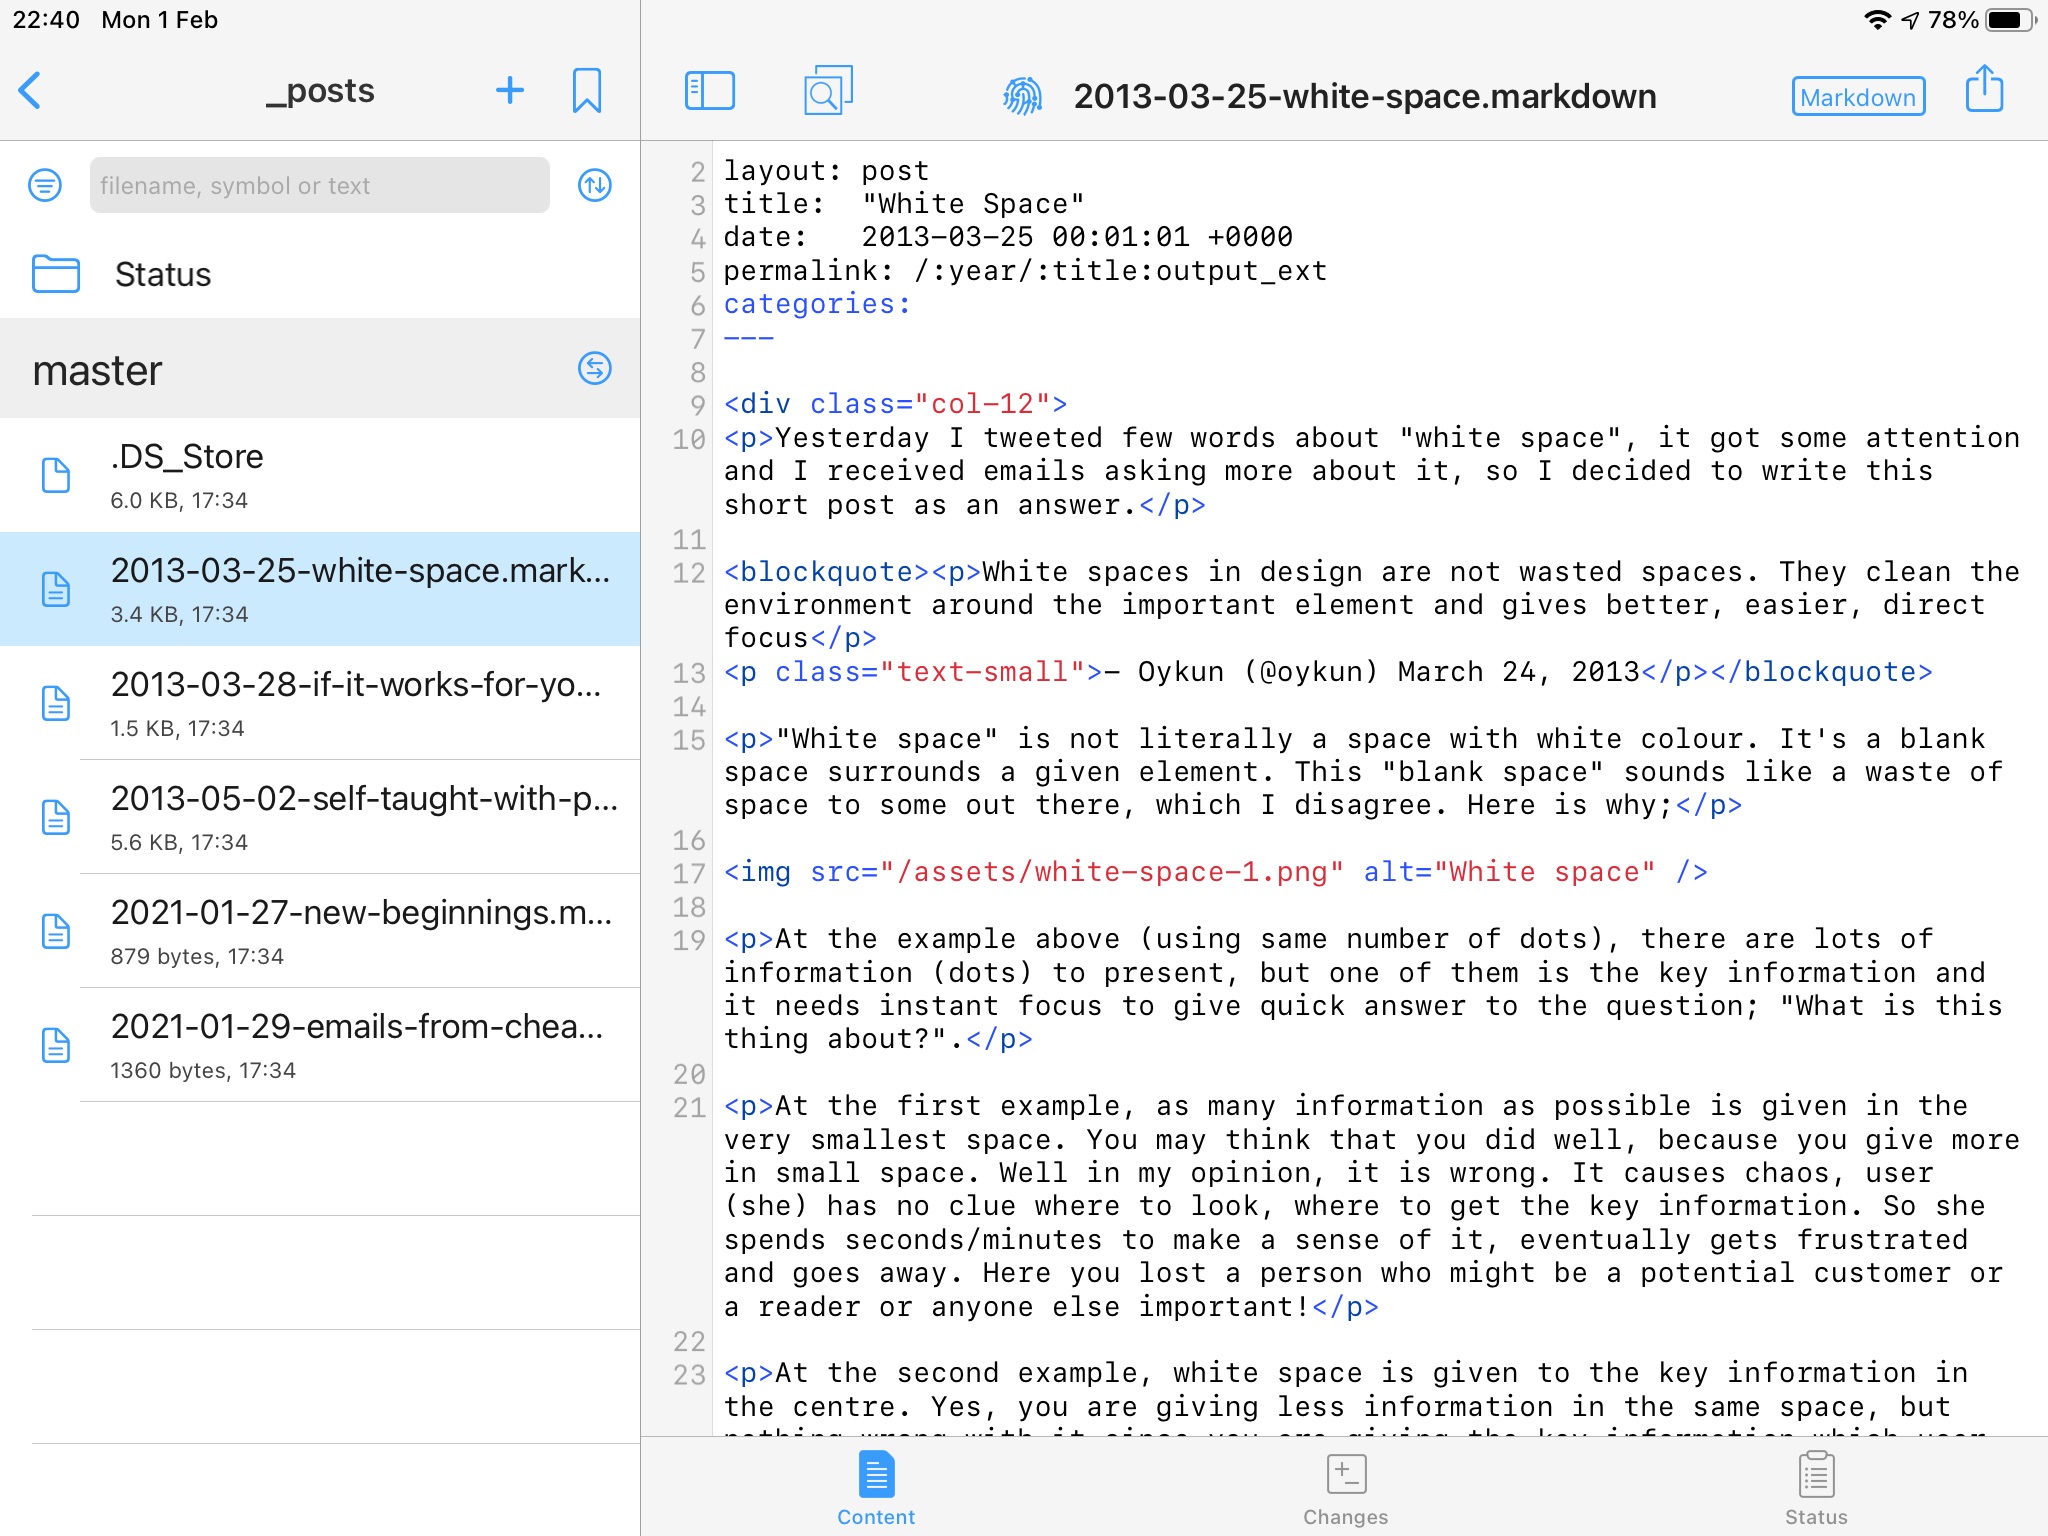
Now I can edit my codes, create new files using the app. There are separate iOS IDEs that you can use, but I'm fine with the WorkingCopy, plus I don't want to over-complicate the flow.

Step 3
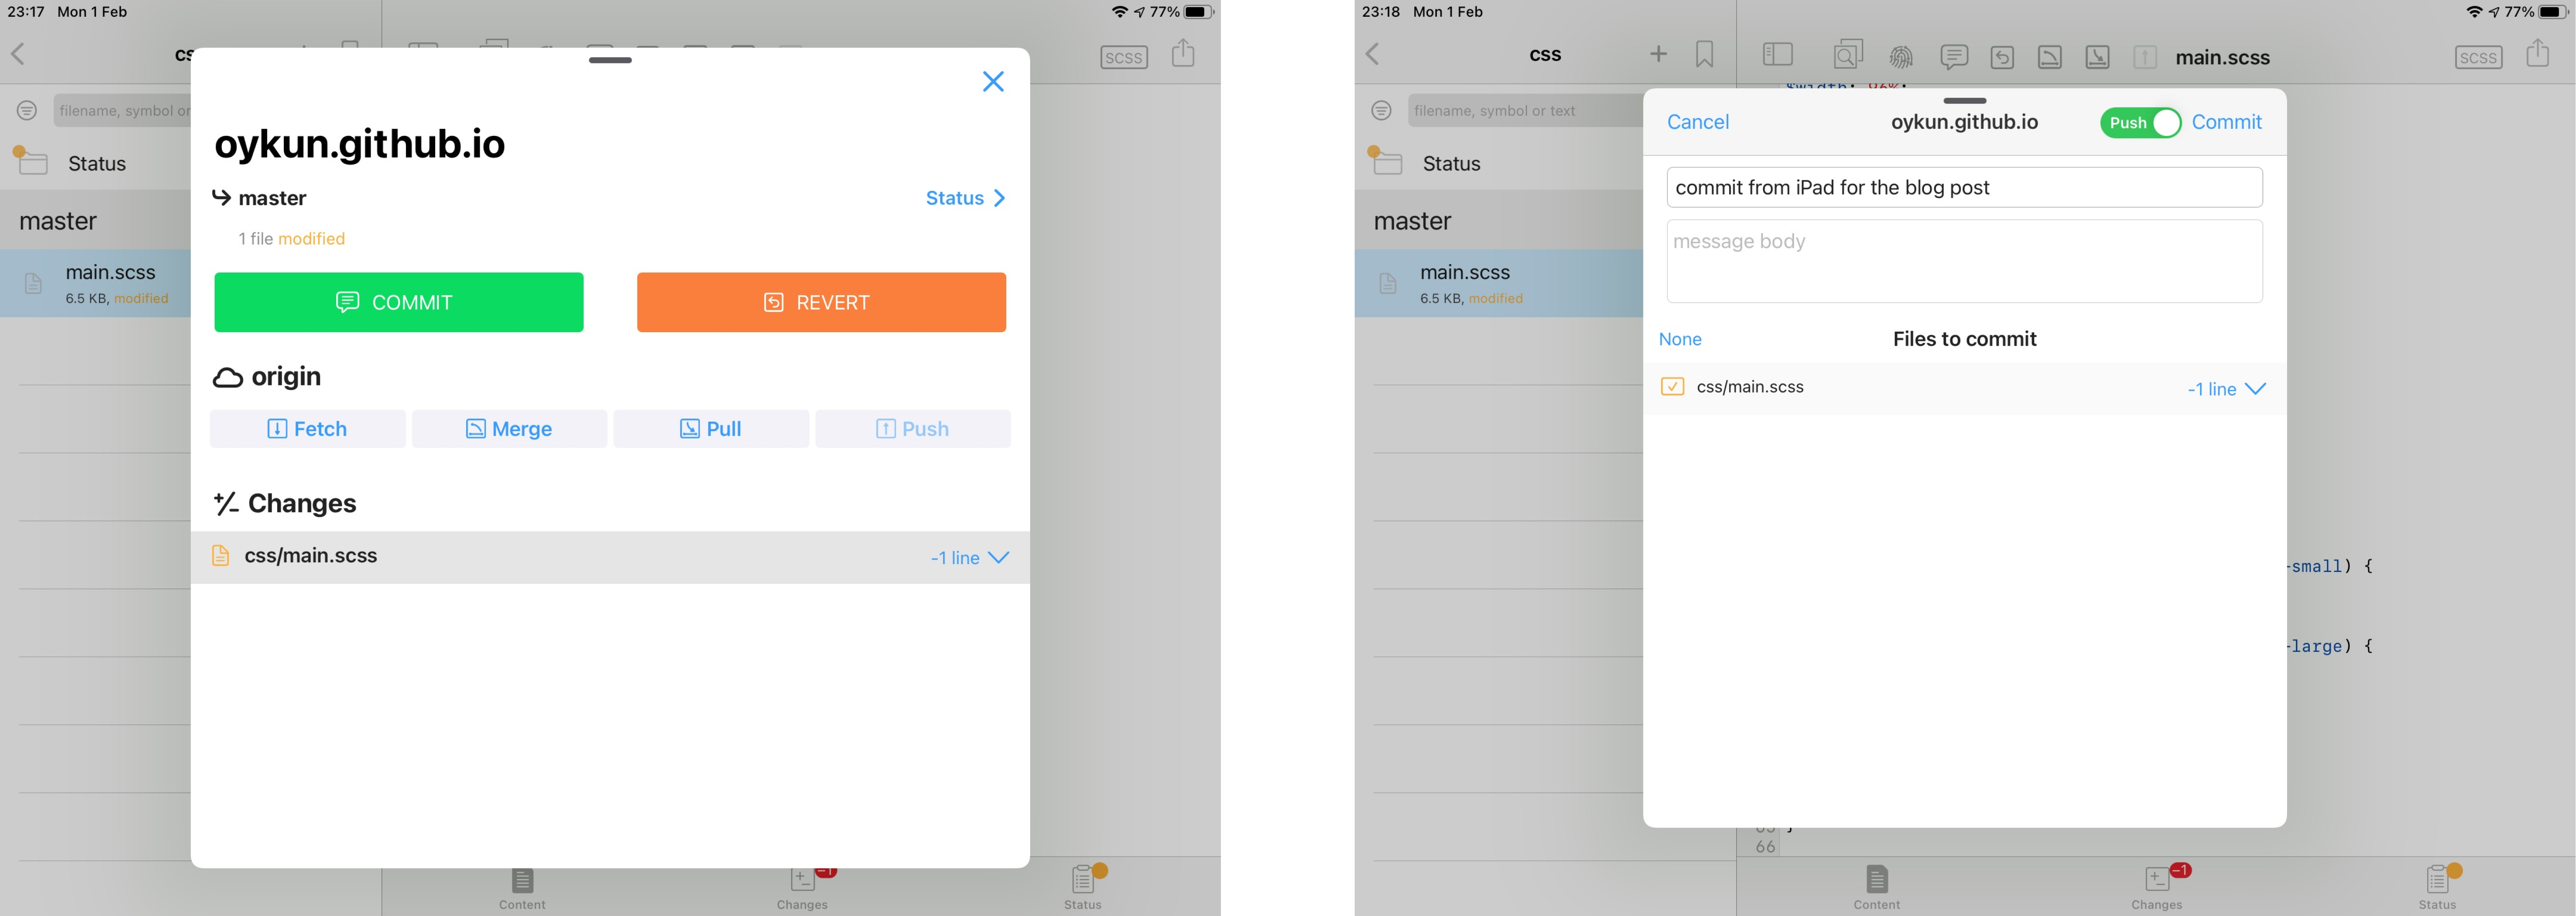
Once I'm done with the code updates, I hit Commit, write my commit message and Push.

That's all :) Github Pages takes care of the rest and the updates go live in less than a minute.
When I need to continue on my MBP, I first do Git Pull to get the updates. The same applies to my iPad, I do Pull after making a Push from my MBP. So, both system gets the latest code and there is no conflict.
BTW, the same flow works on my iPhone as well.